
In one of my modules, I used the Terasic DE10-Lite FPGA board for labs. This handy, little board can be programmed easily via a USB-A cable as it has the Altera USB-Blaster programmer already. My students found it very useful to verify their digital designs on board.

In this article, I will list the main steps to install the Intel Quartus Lite design software (version 18.1 that DE10-Lite originally asks for, despite newer versions are known to work well) with ModelSim simulation tool and MAX-10 FPGA support.
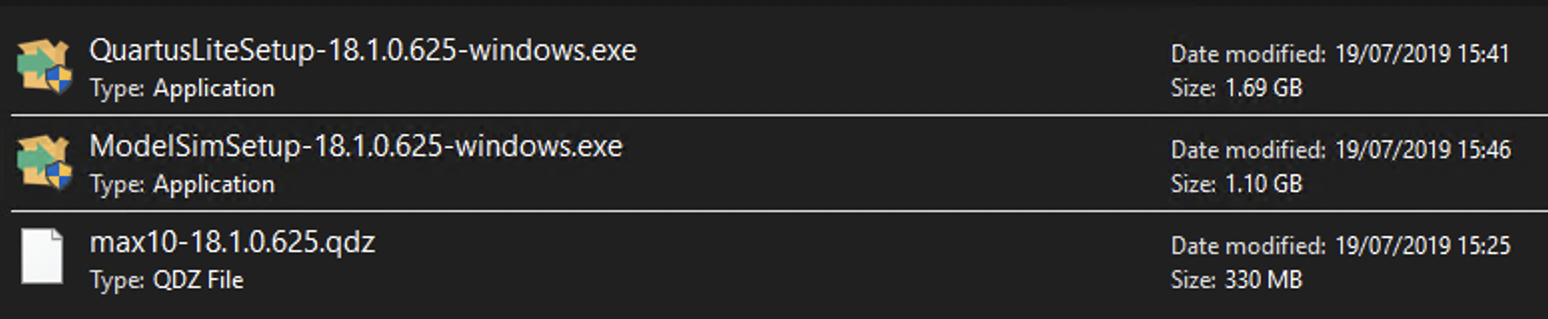
First, download the following from the Intel website (link above):
QuartusLiteSetup-18.1.0.625-windows.exe(version may change)ModelSimSetup-18.1.0.625-windows.exe(version should match with Quartus Lite)max10-18.1.0625.qdz(MAX-10 FPGA support files)
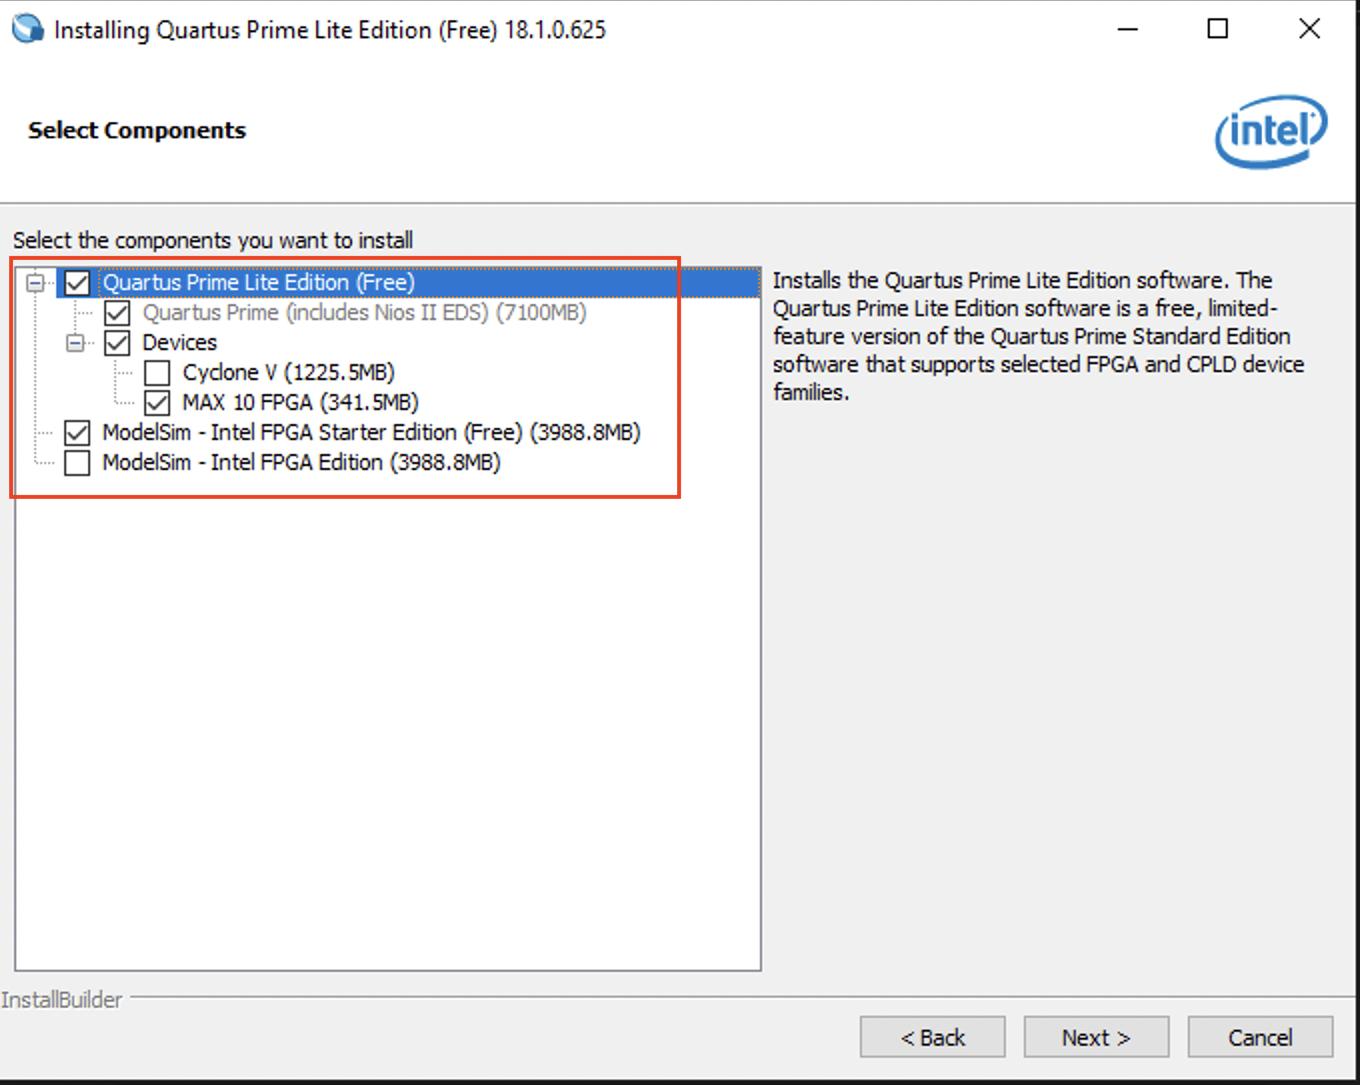
Then start the installation by opening
QuartusLiteSetup-18.1.0.625-windows.exe. Choose the minimal set of components
to work with the DE10-Lite board, as shown.
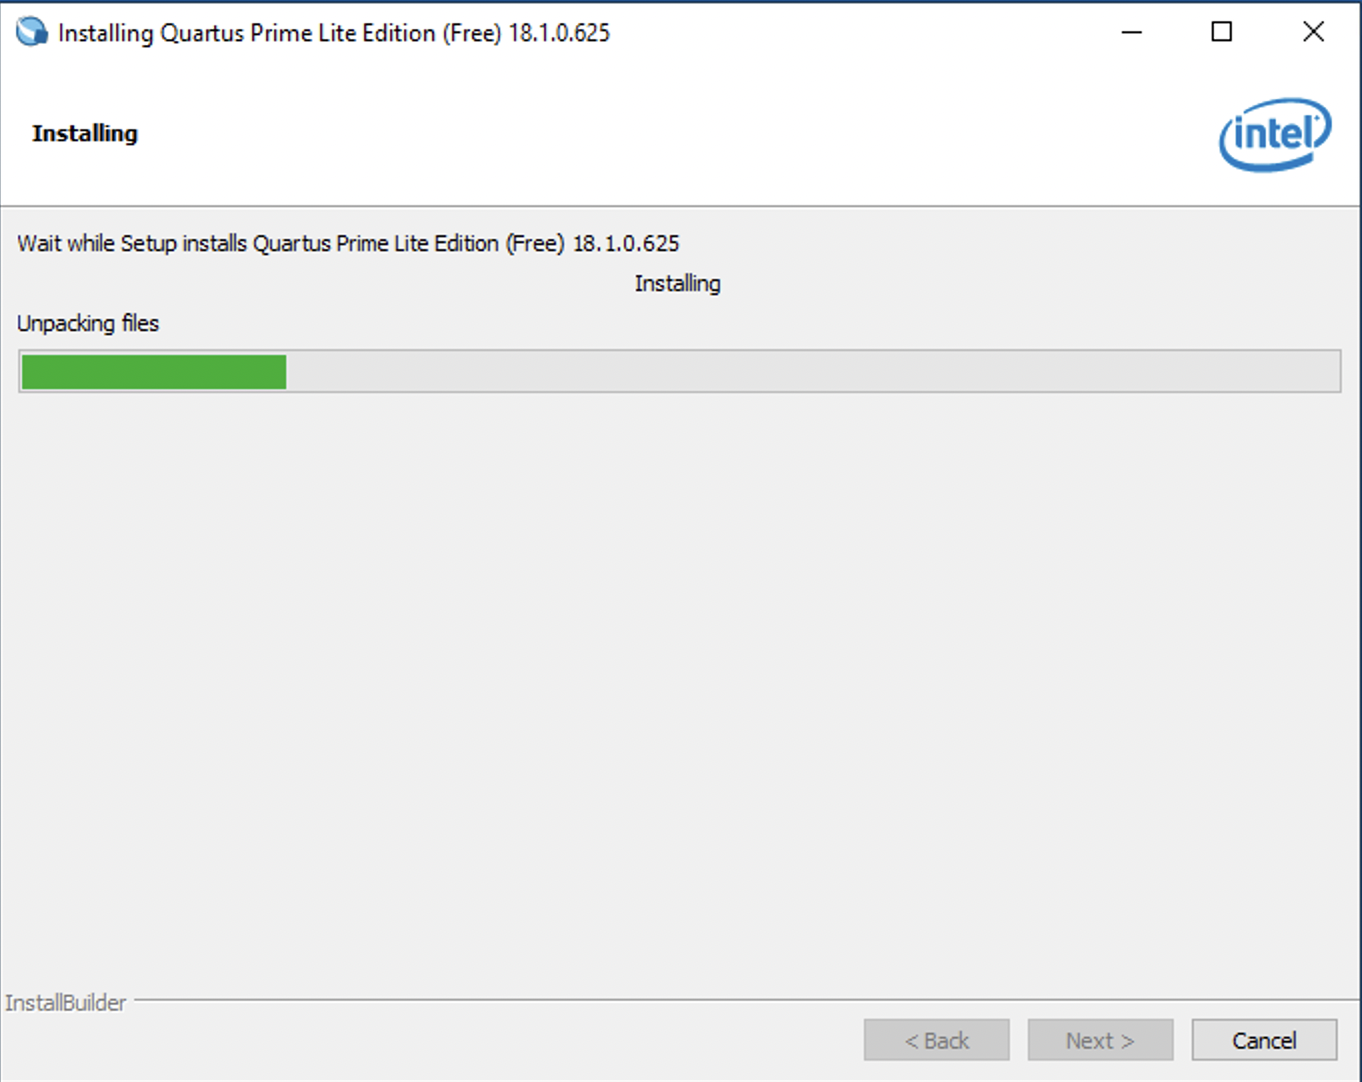
Wait patiently till the installation finishes …
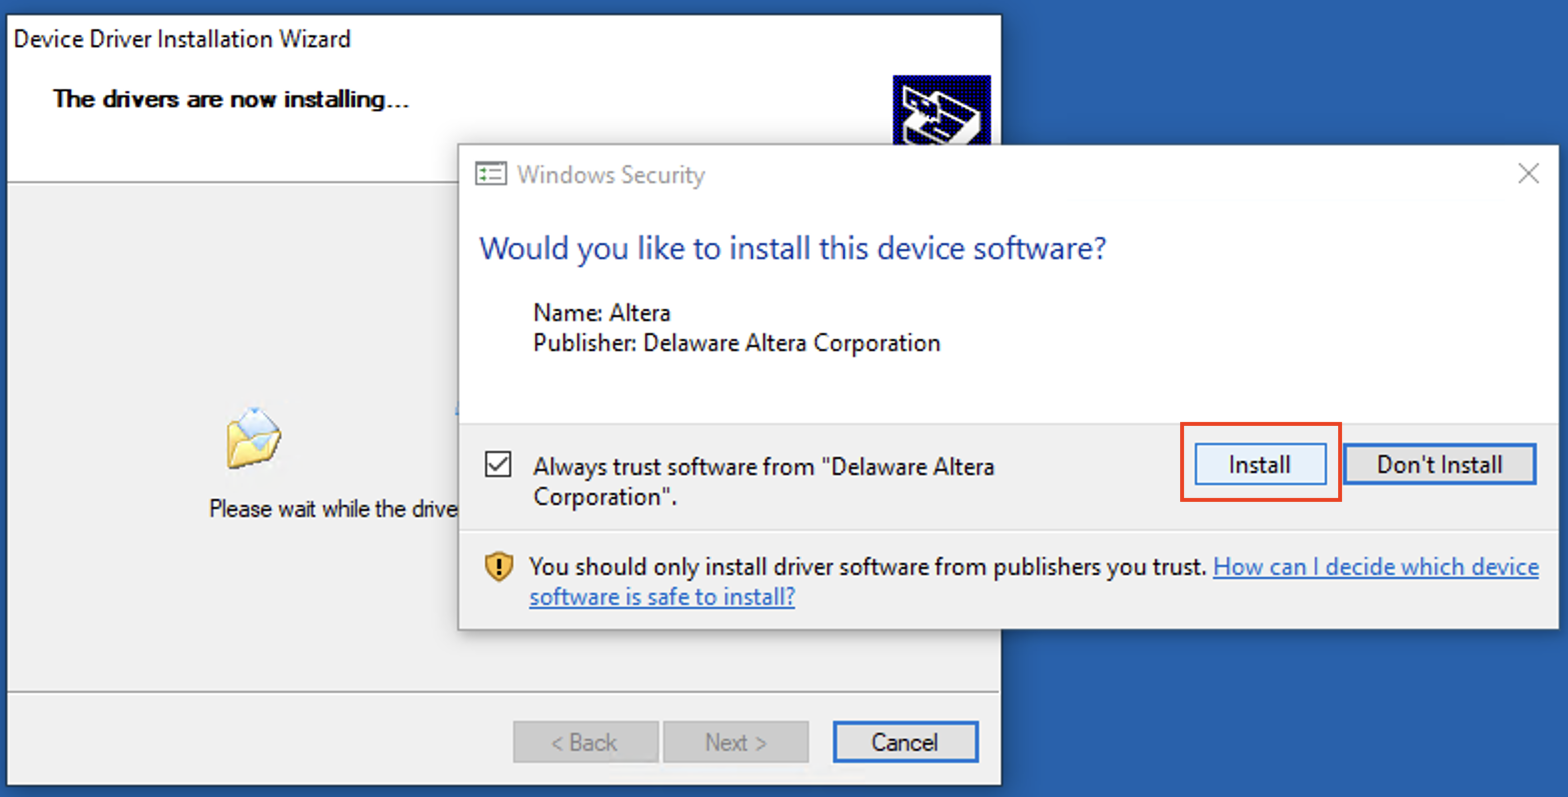
Next, check the option to launch USB Blaster II driver installation.
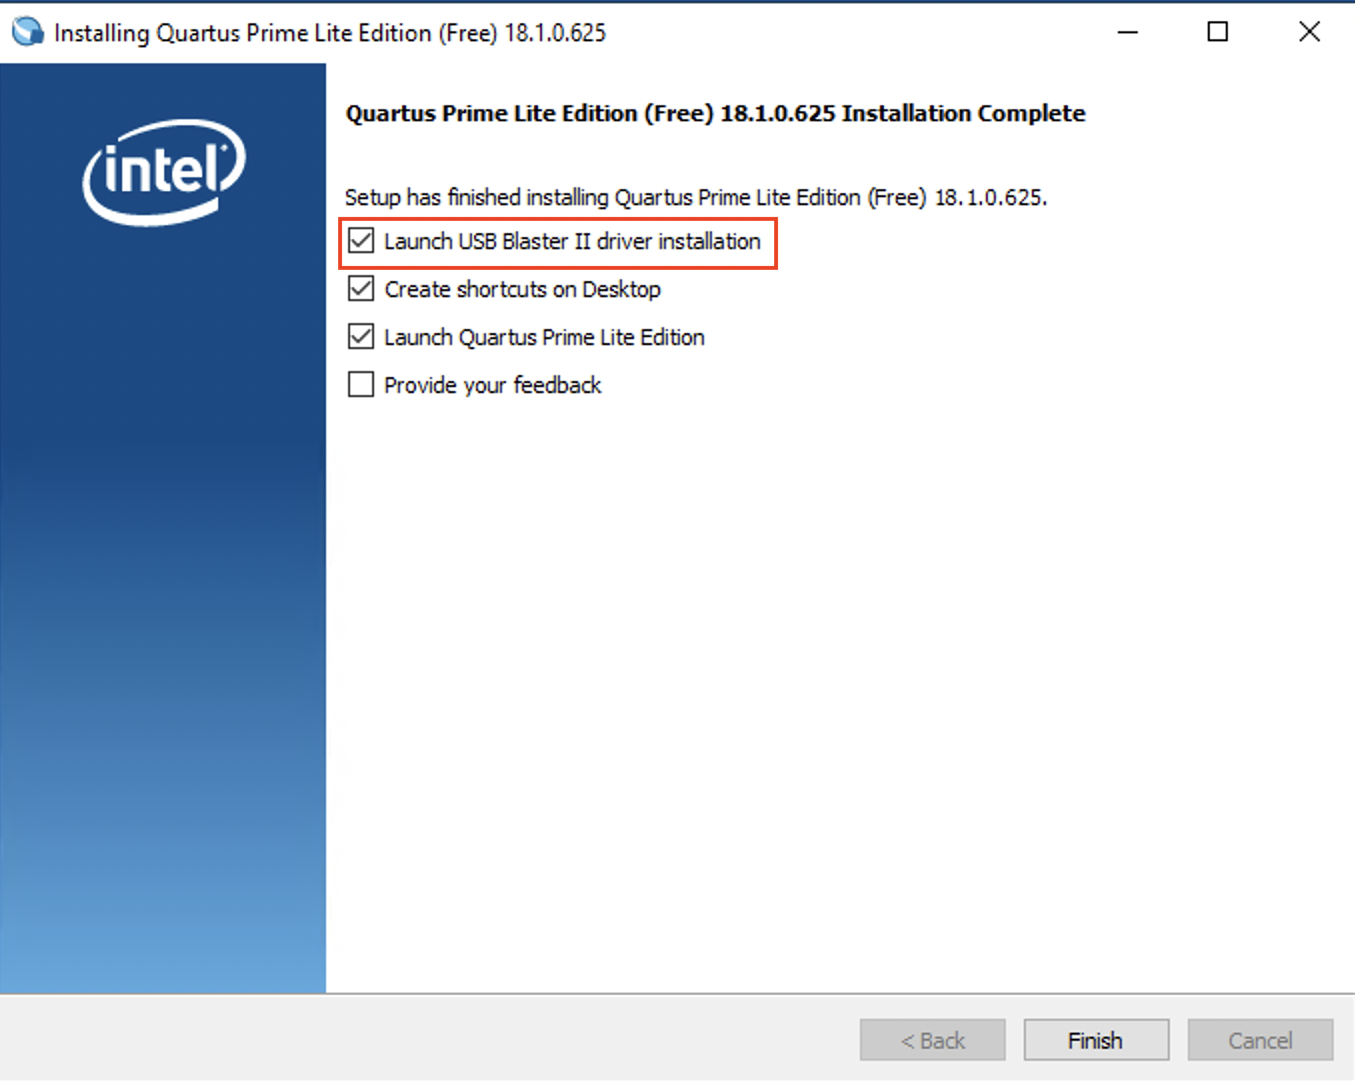
Accept the security warning and check the screen for a successful notice.
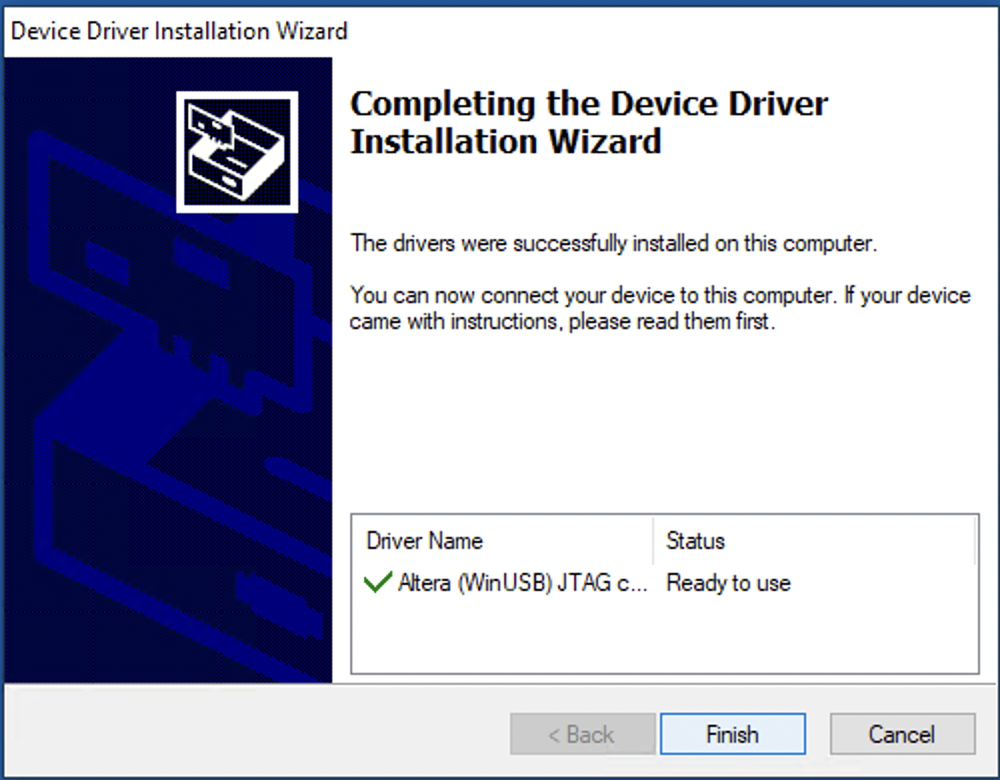
Note: you may still need to manual locate the driver when the board is plugged in the first time to your PC/laptop. Check this link for steps.
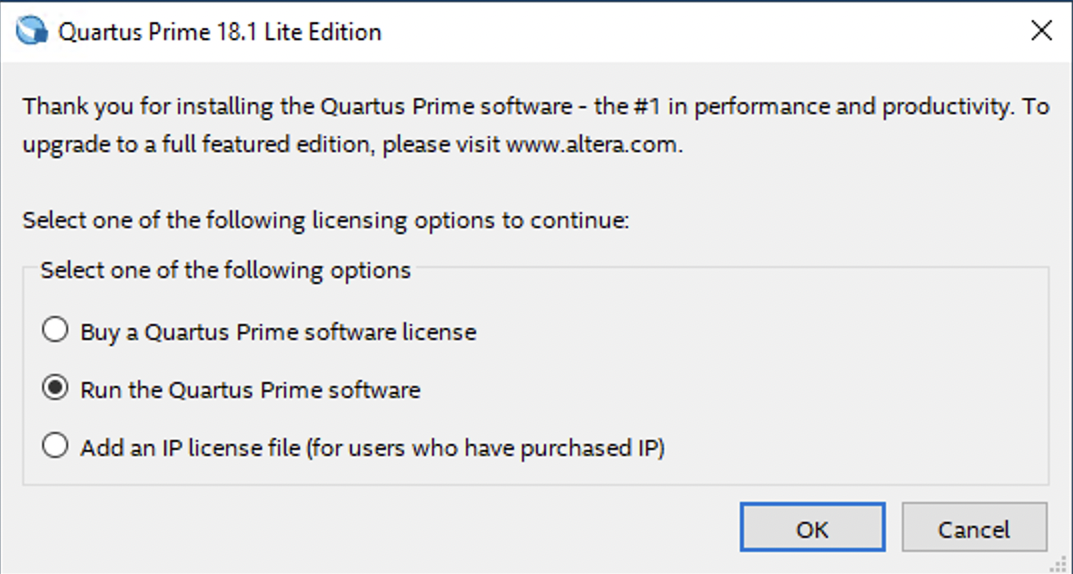
When you run the software for the first time, you will be asked to buy a full license. We will skip and run the basic lite version.
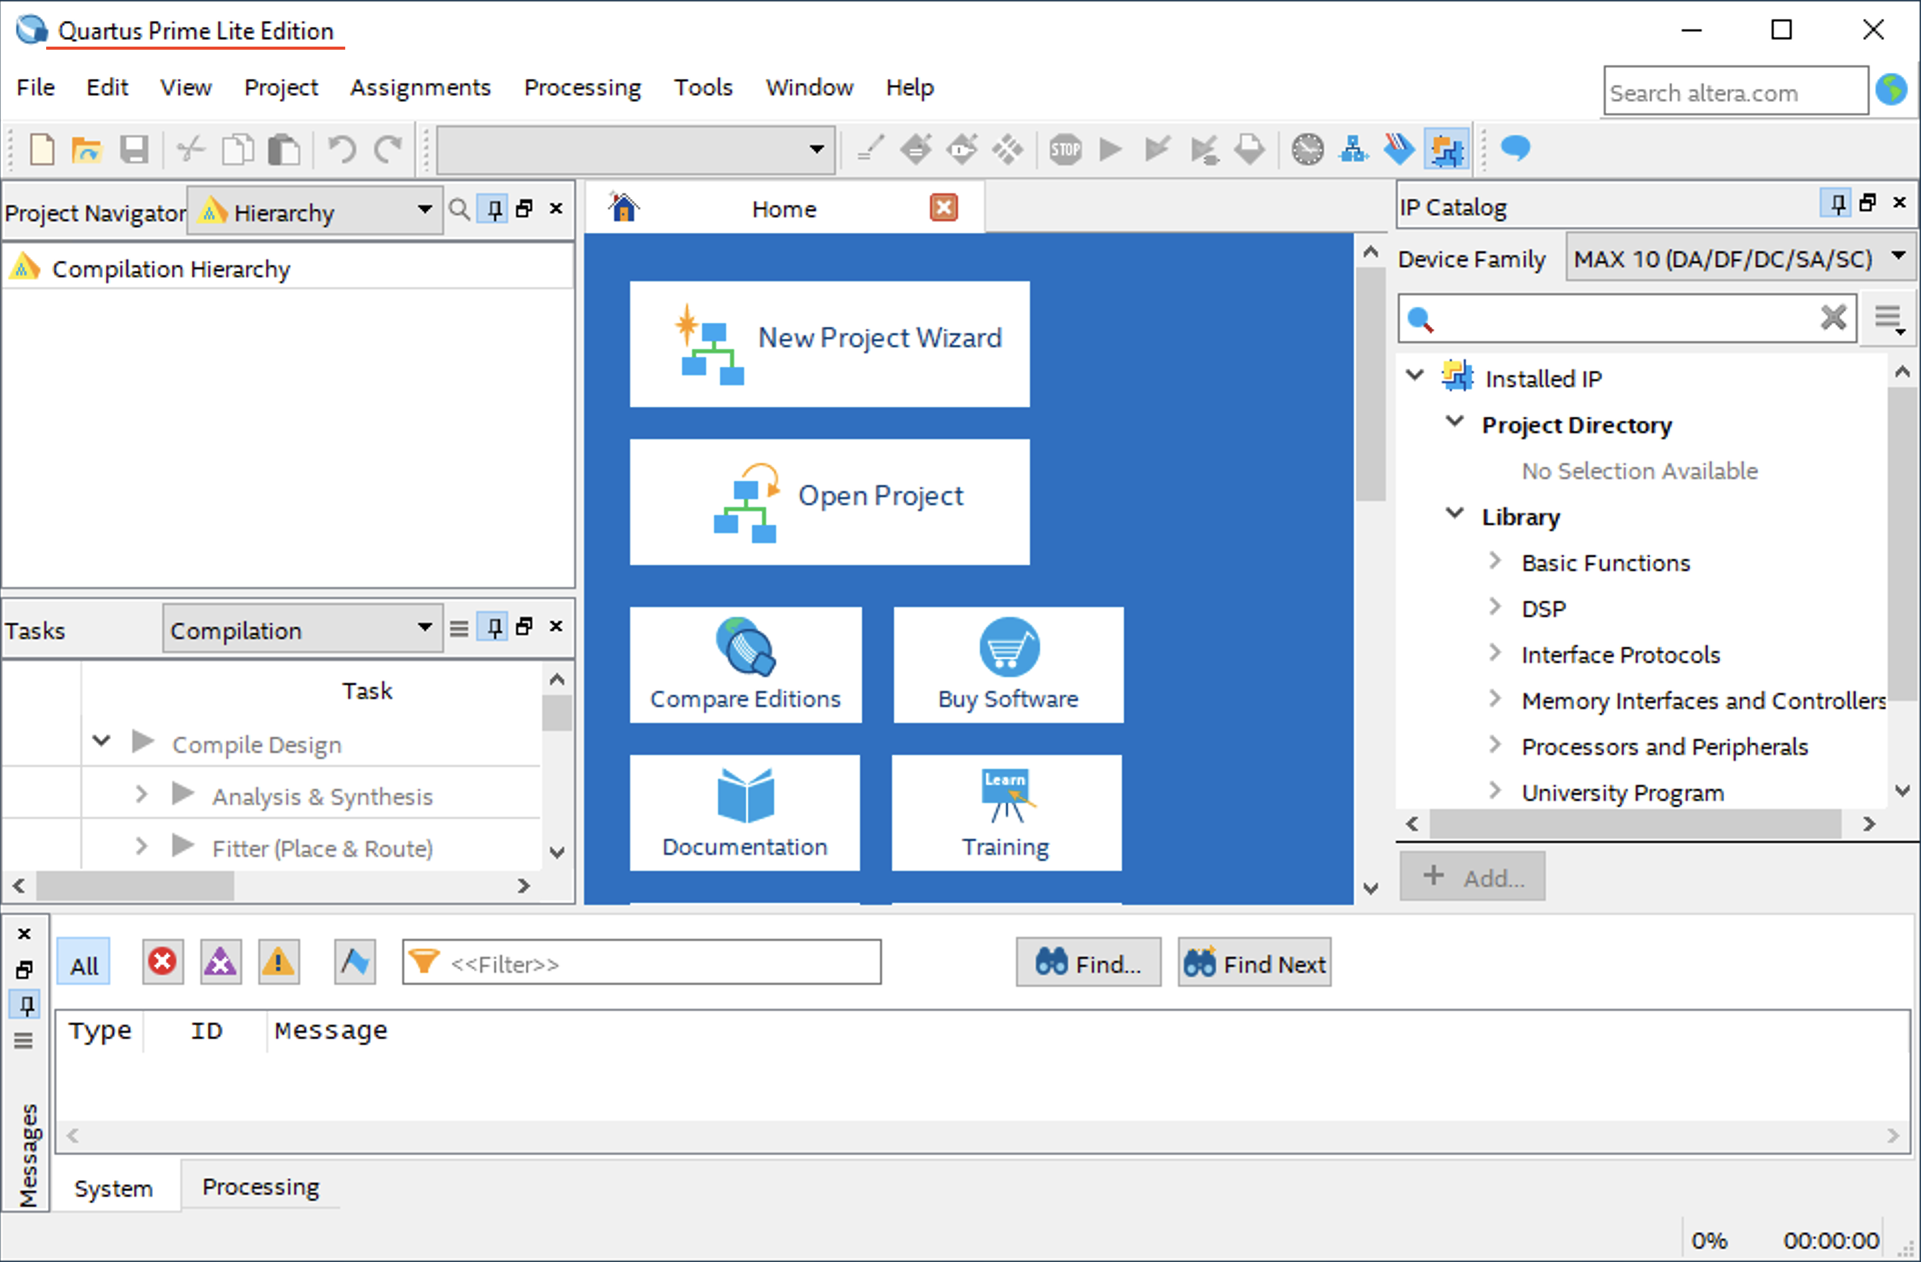
The installation is now complete. The design software is ready to compile VHDL/Verilog designs and program them onto the FPGA boards.
Next time, I will share an example of a simple design that demonstrate the basic input and output devices available on the board.