
In my Digital System Design module in QMUL EECS, we used the NI DSDB board for lab exercises. The board is very powerful and can be programmed via Xilinx Vivado or NI Labview. In this blog of reminder, I am going to outline the installation process for Xilinx Vivado version 2017.3 which gives the best compatibilty for the DSDB board.
First, download the Vivado HLx 2017.3: WebPACK and Editions - Windows Self Extracting Web Installer from the Xilinx website (link above).
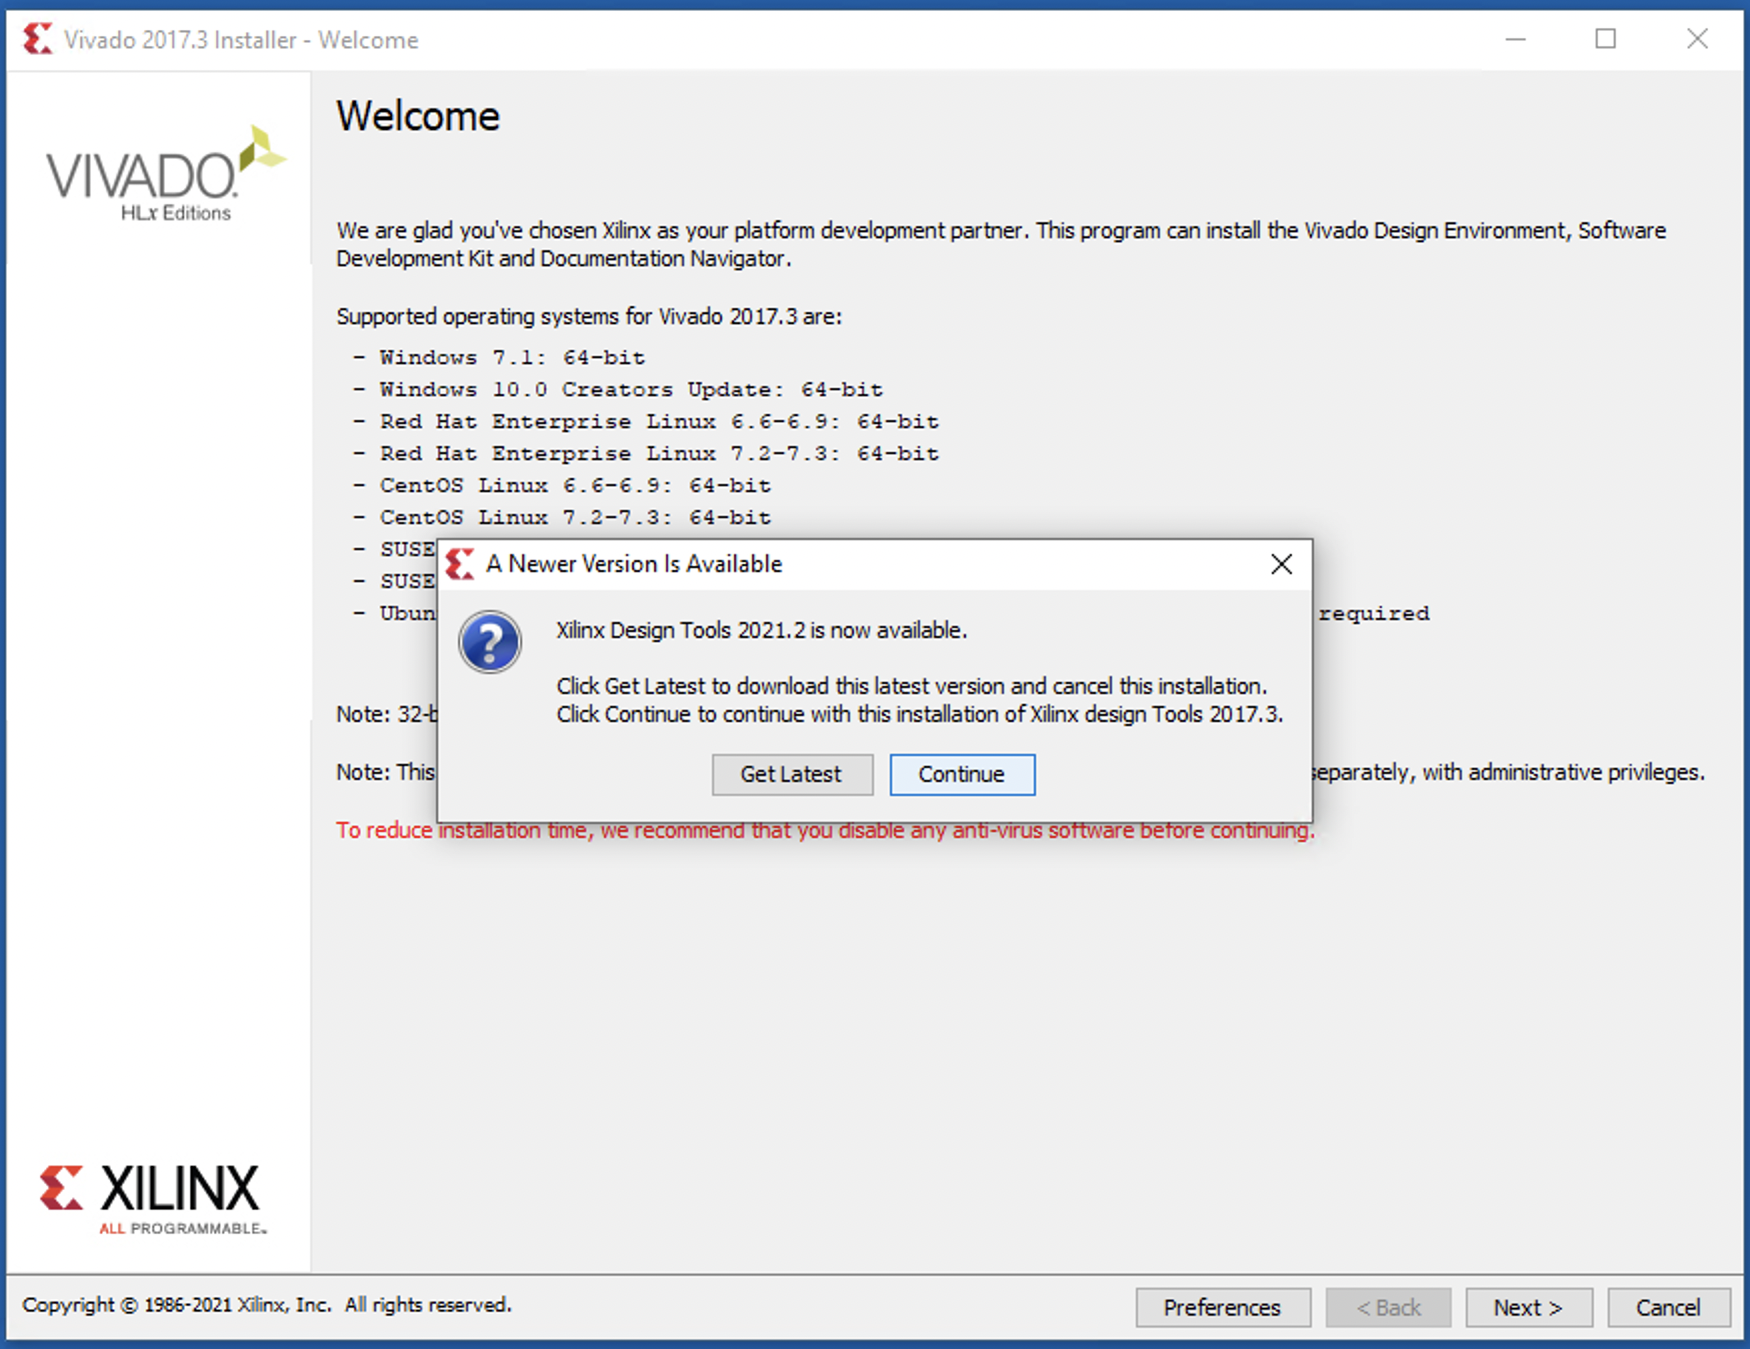
Then start the installation by opening the file. Skip the latest version of course by clicking Continue.
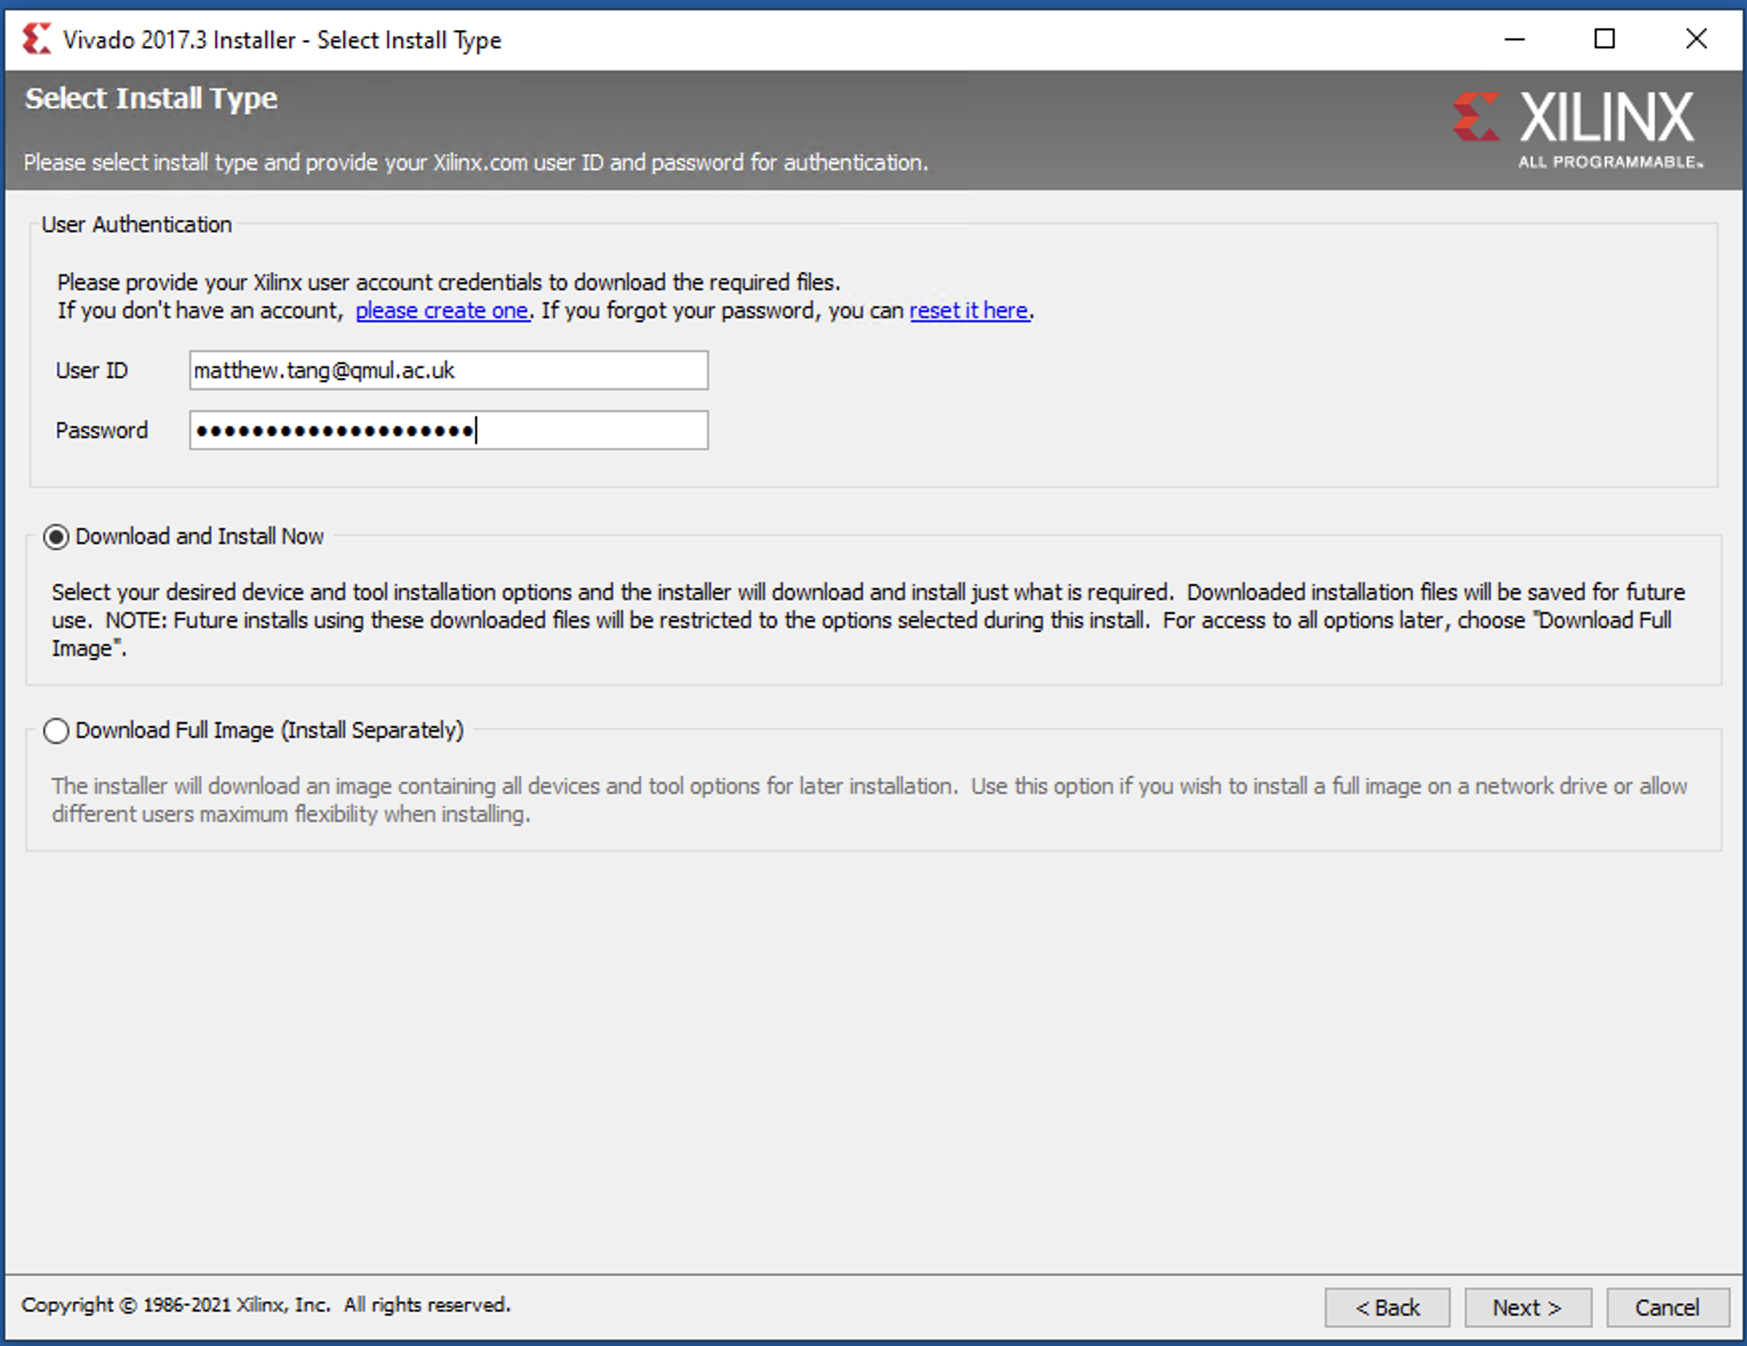
If you have not yet got a Xilinx account, follow the links to create one. Enter
your credentials here and carry on with Download and Install Now.
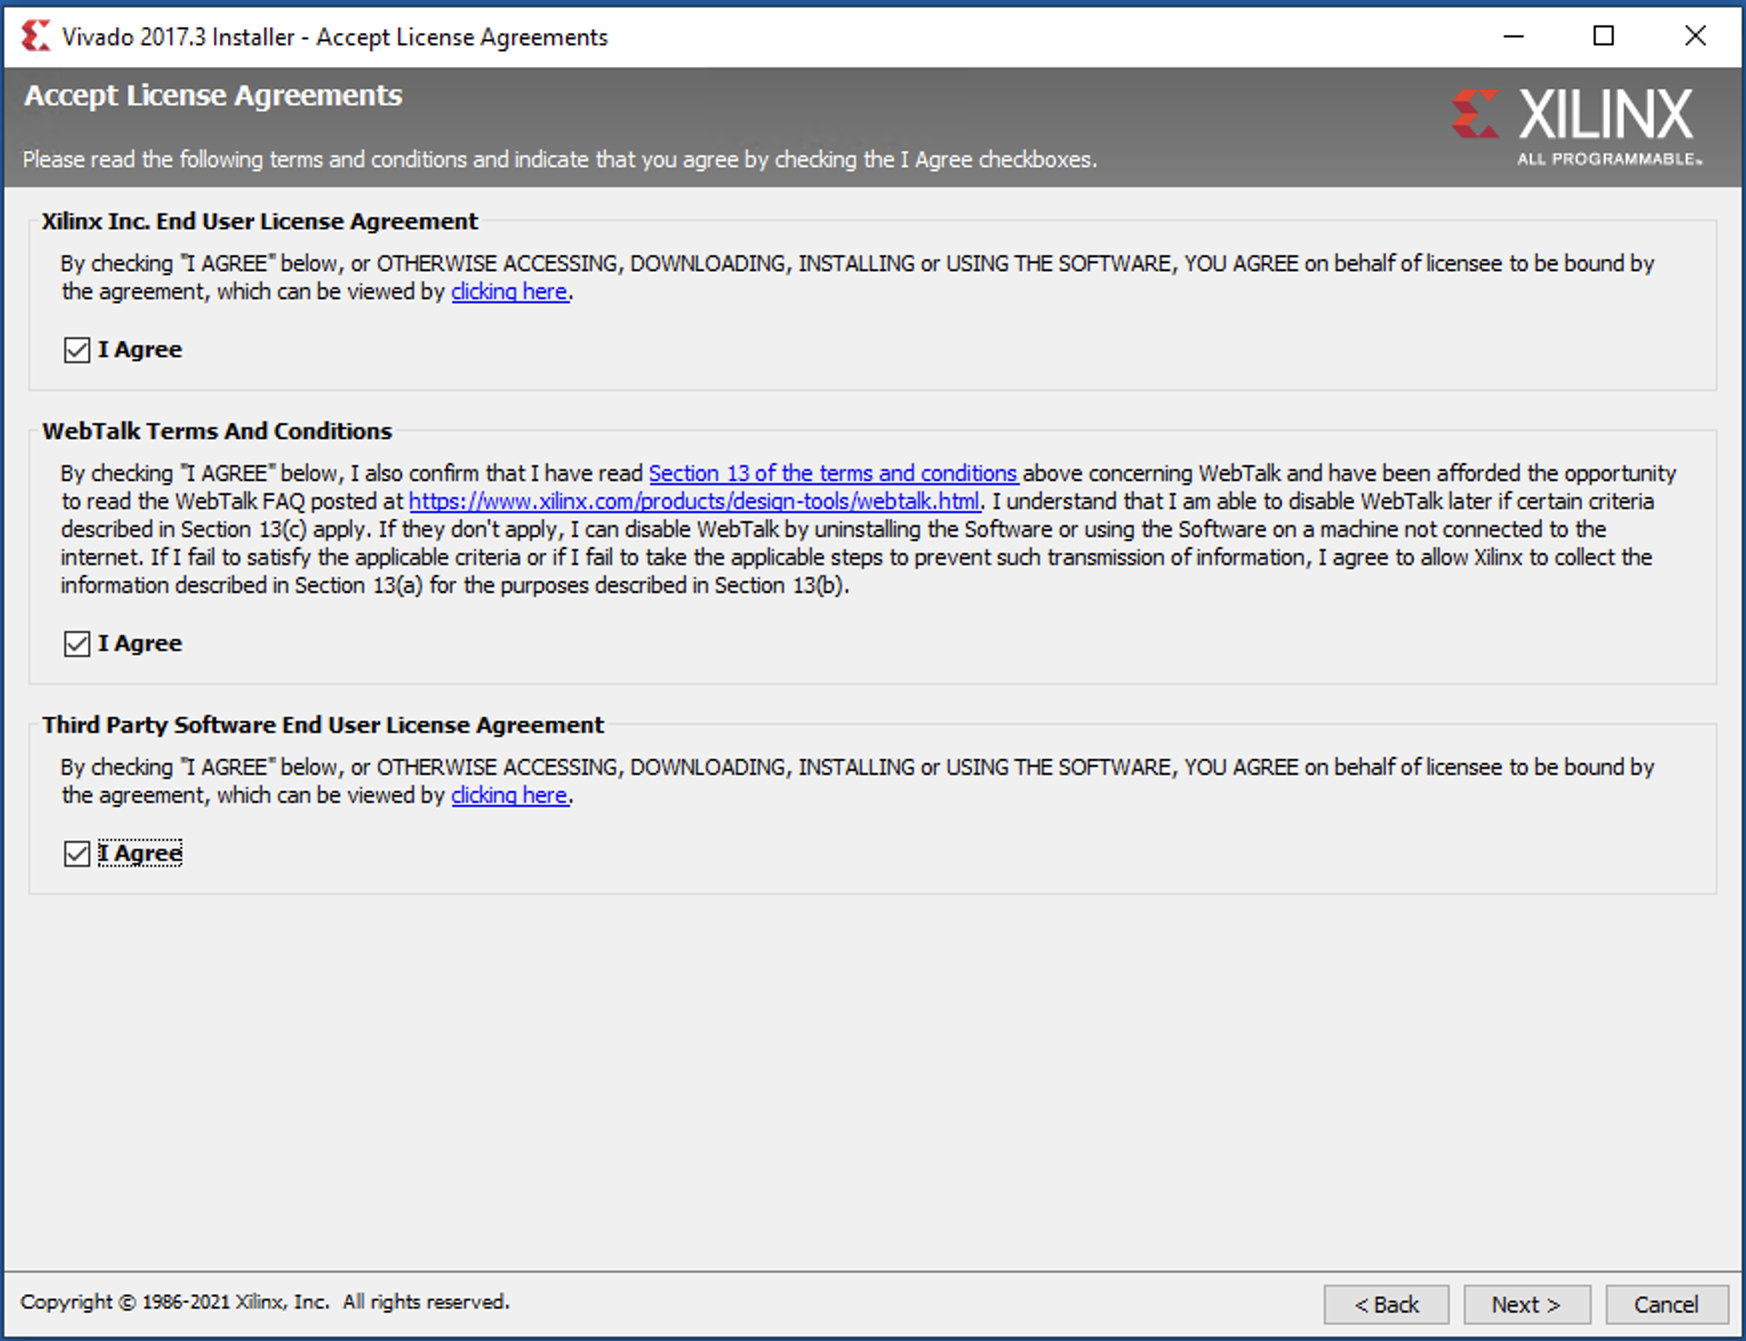
Agree the terms of licenses …
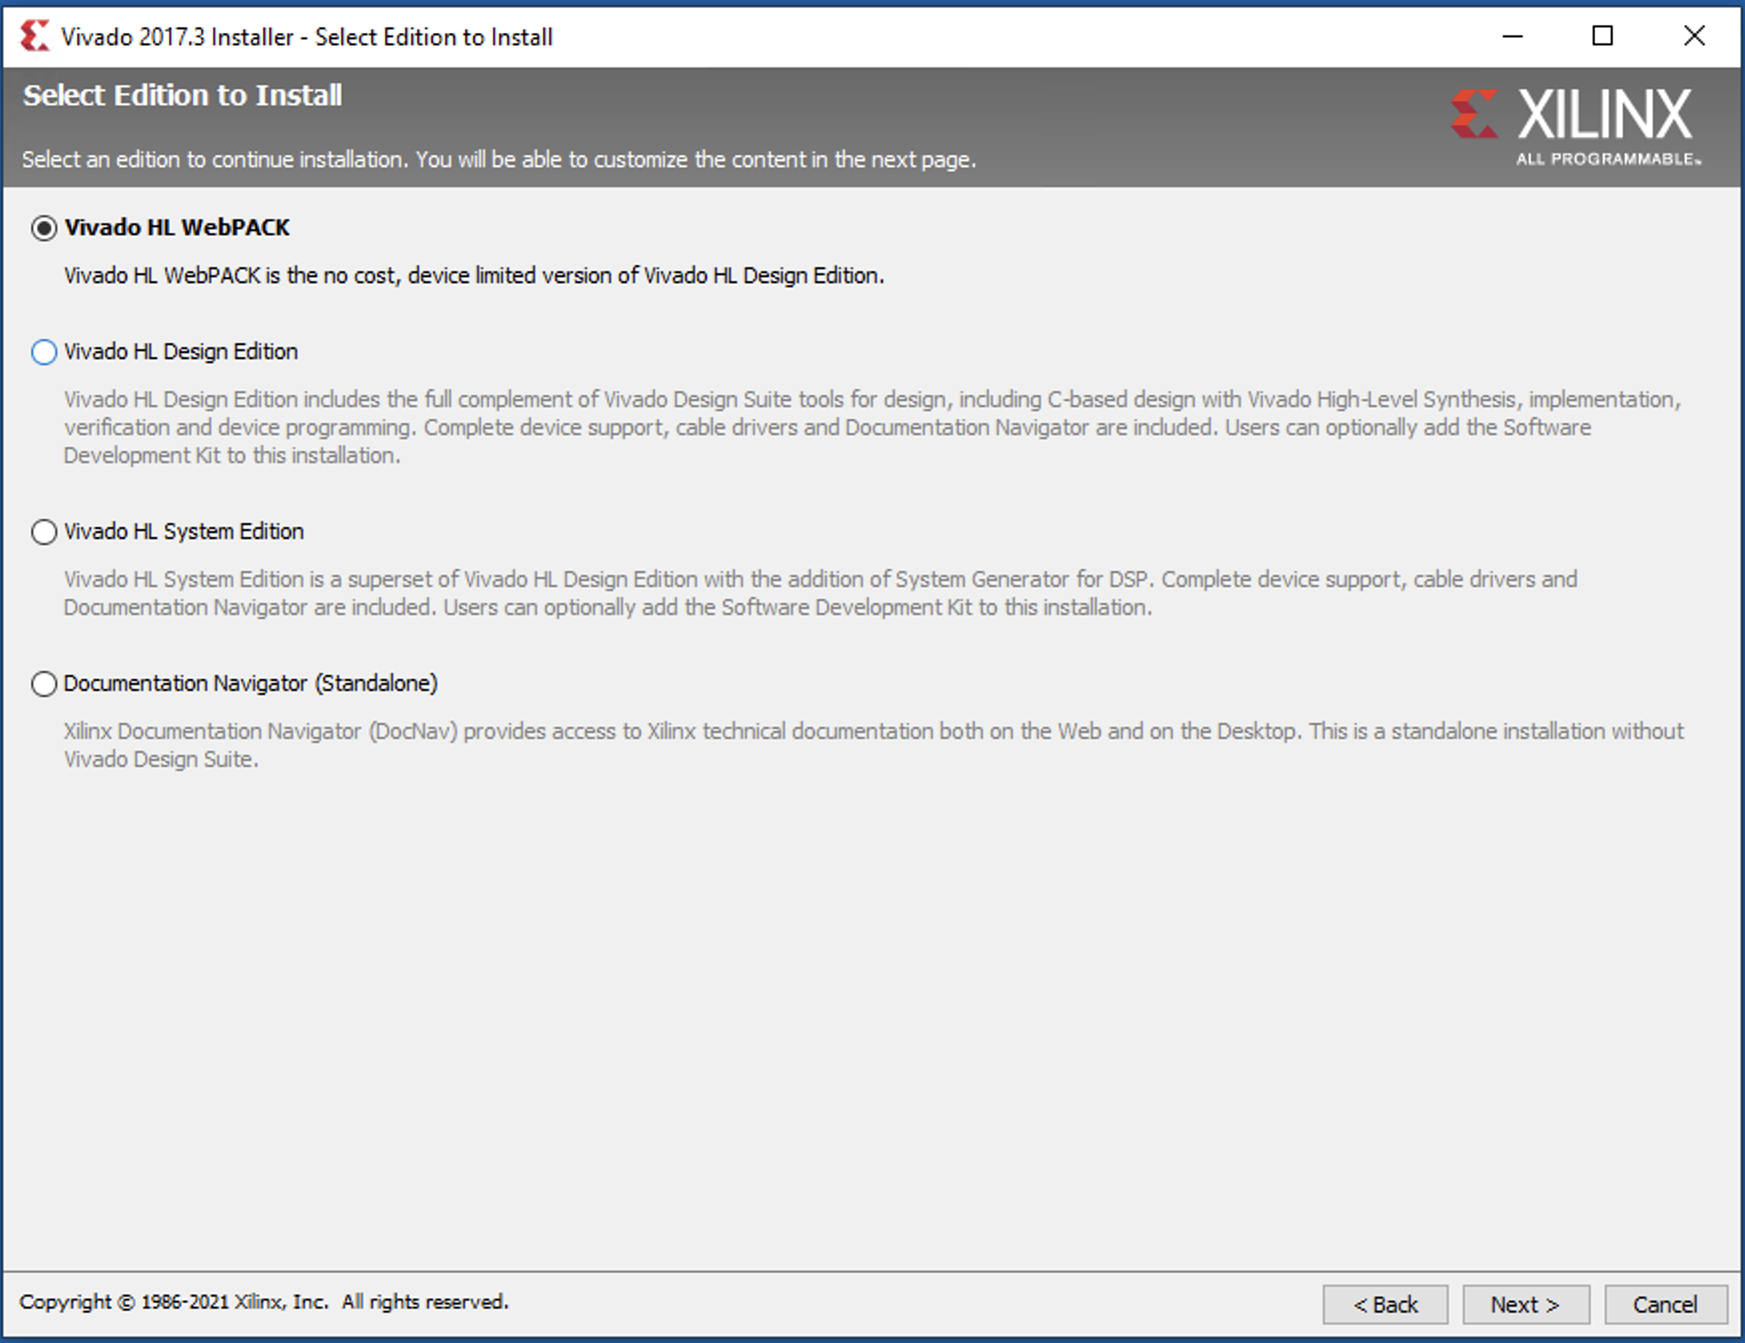
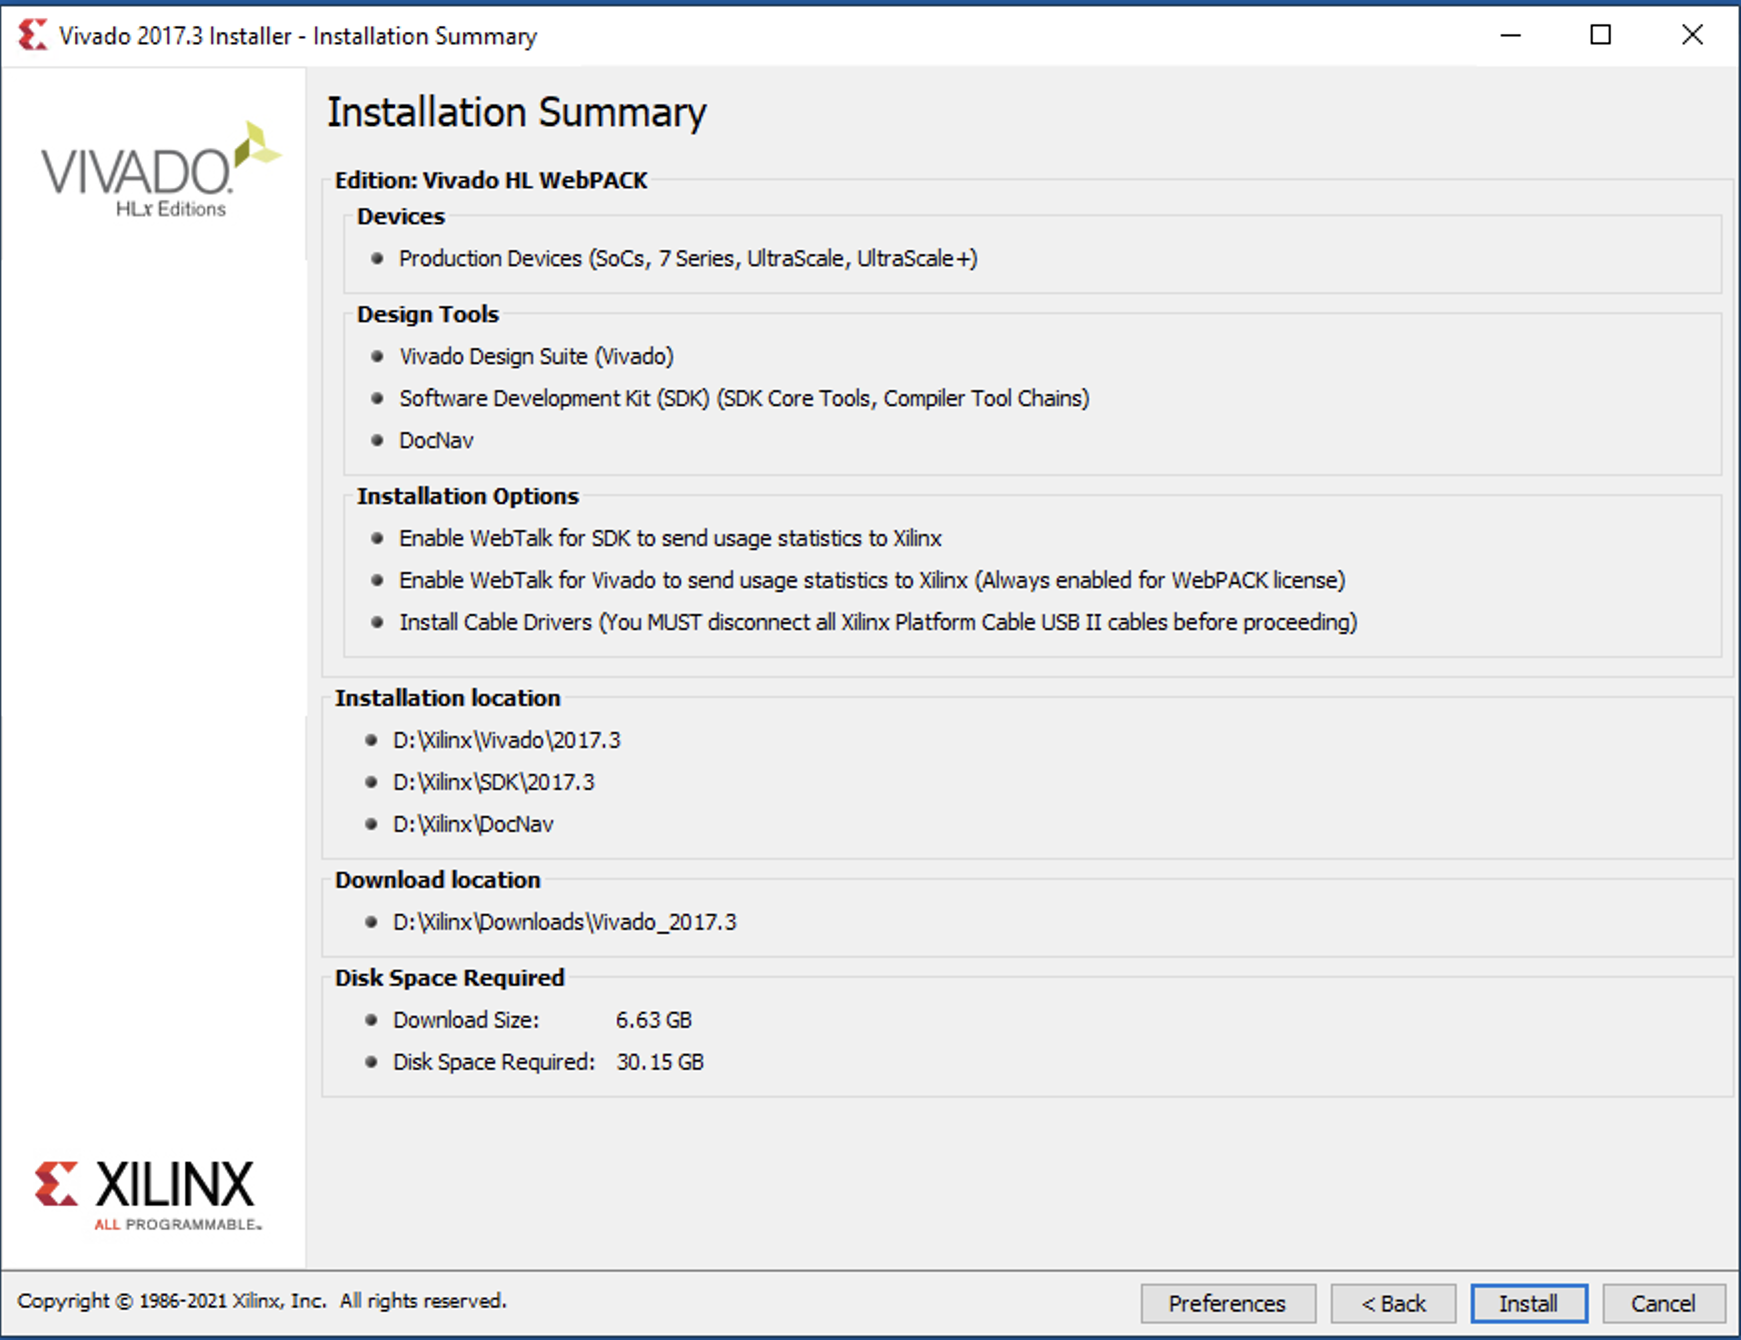
Choose the free Vivado HL WebPack version …
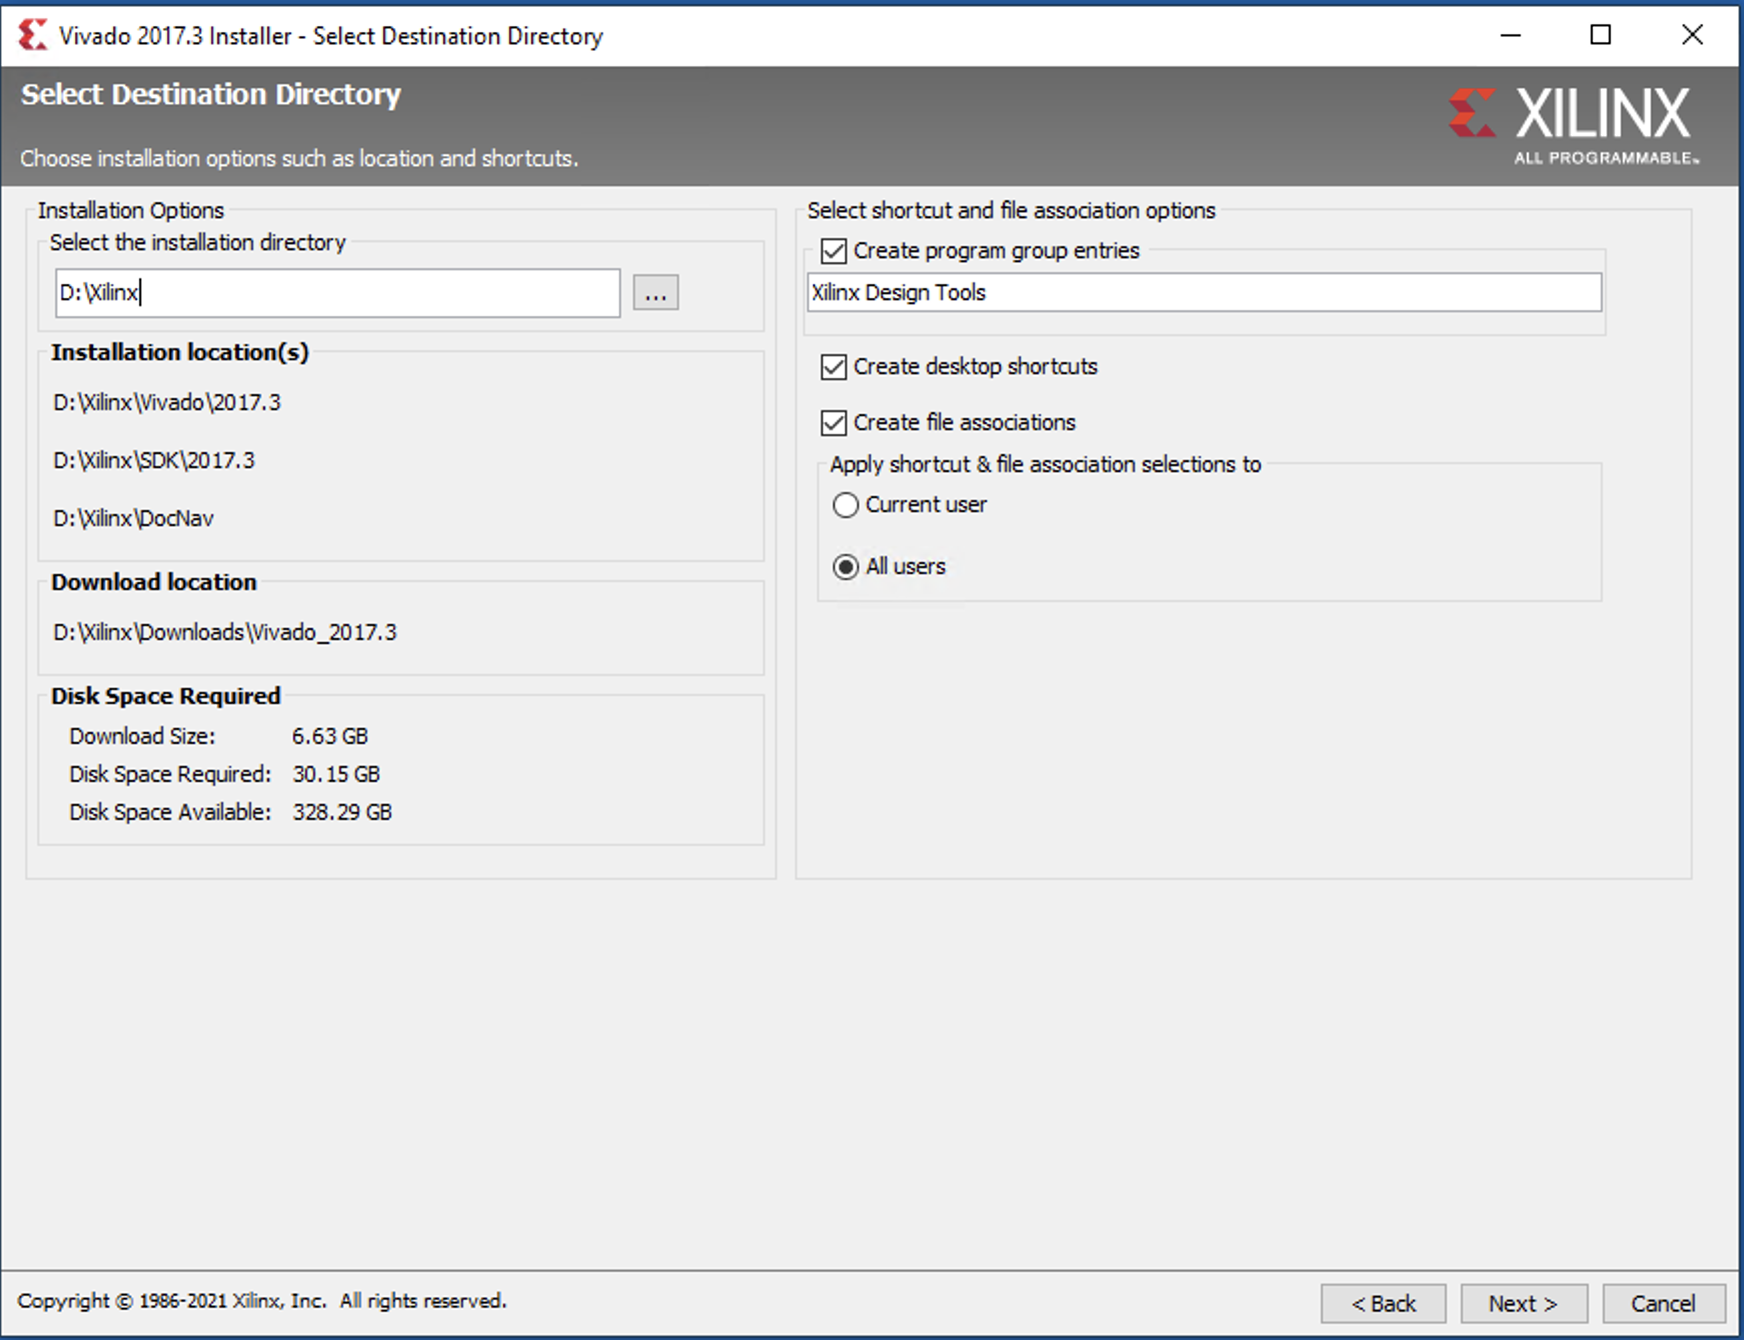
Double check the installation locations and so on.
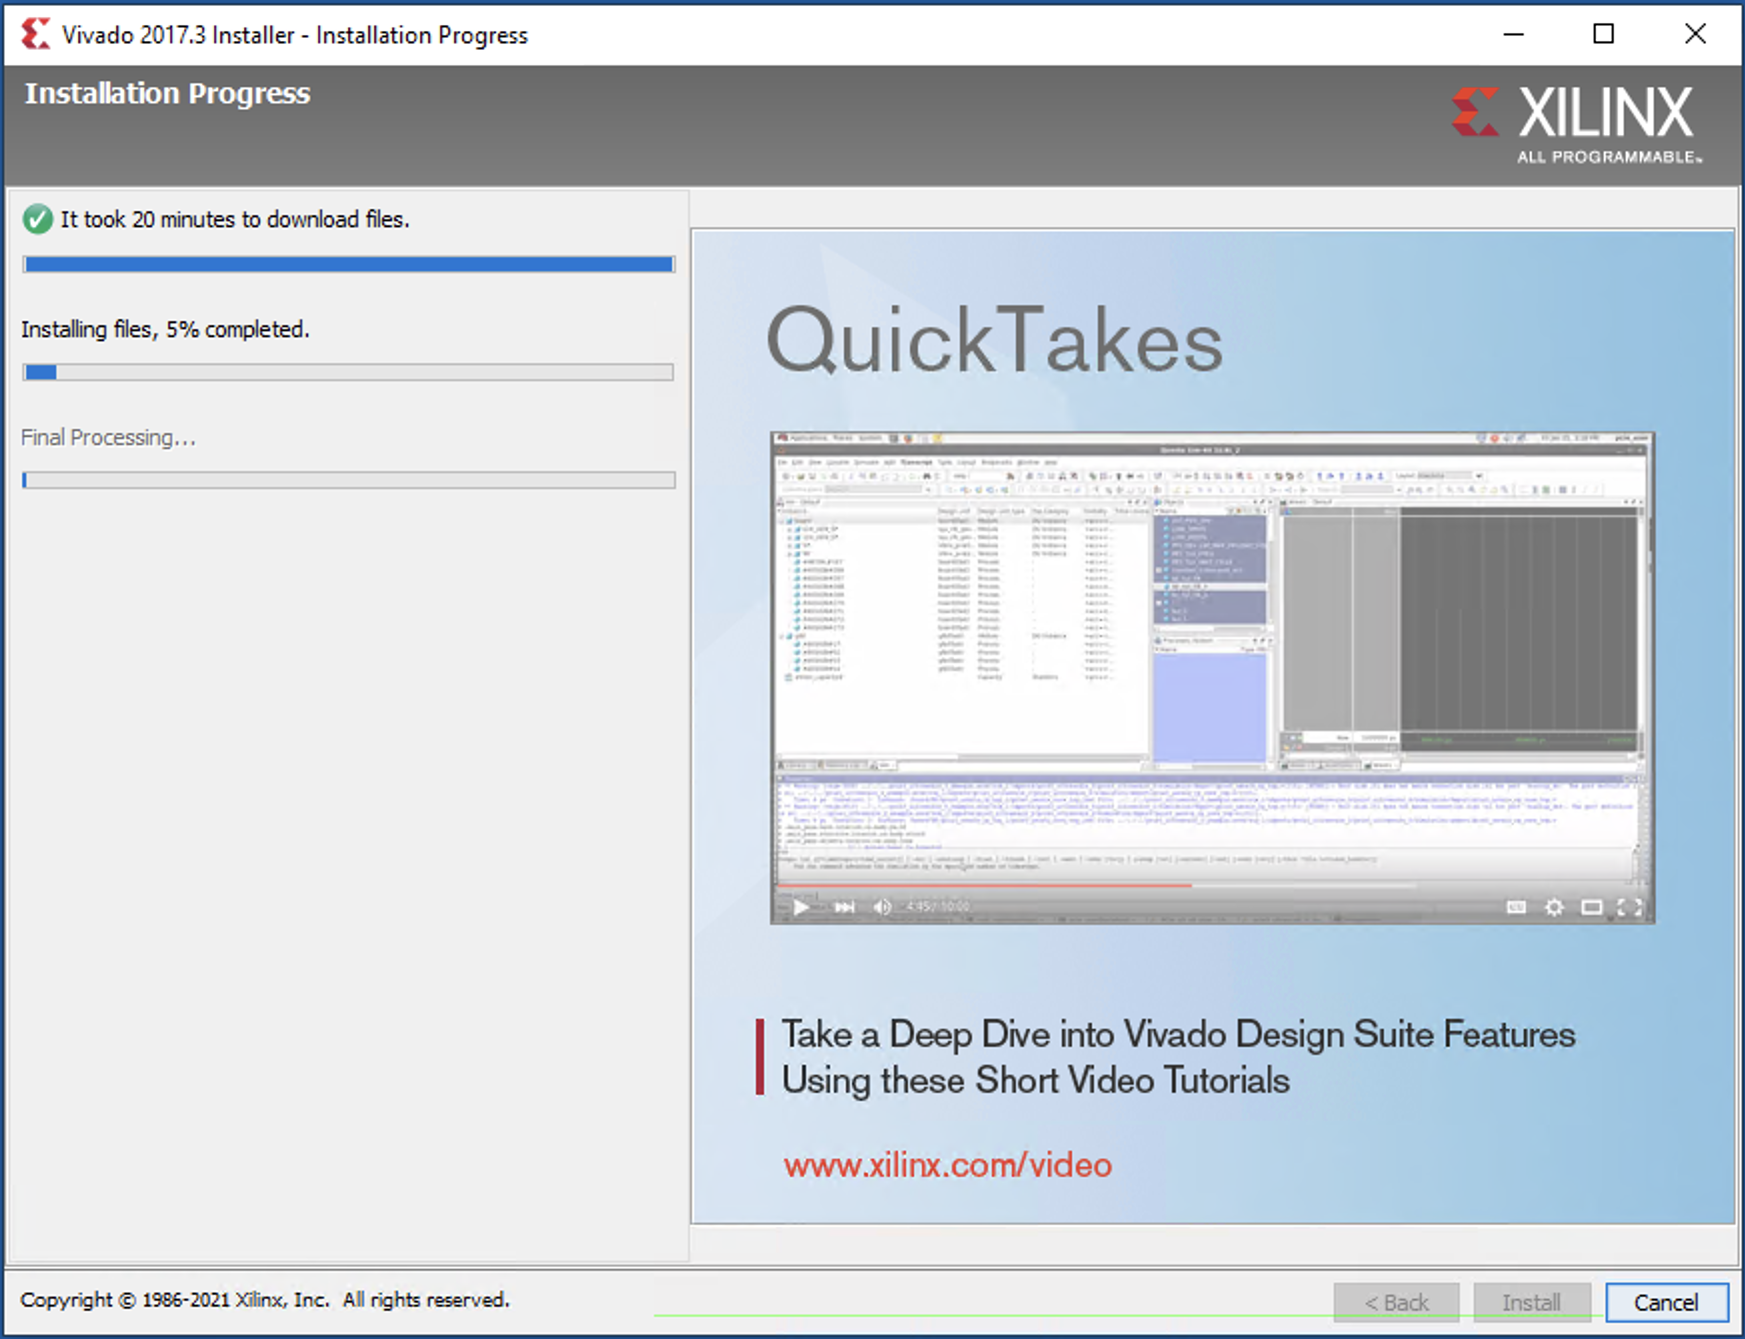
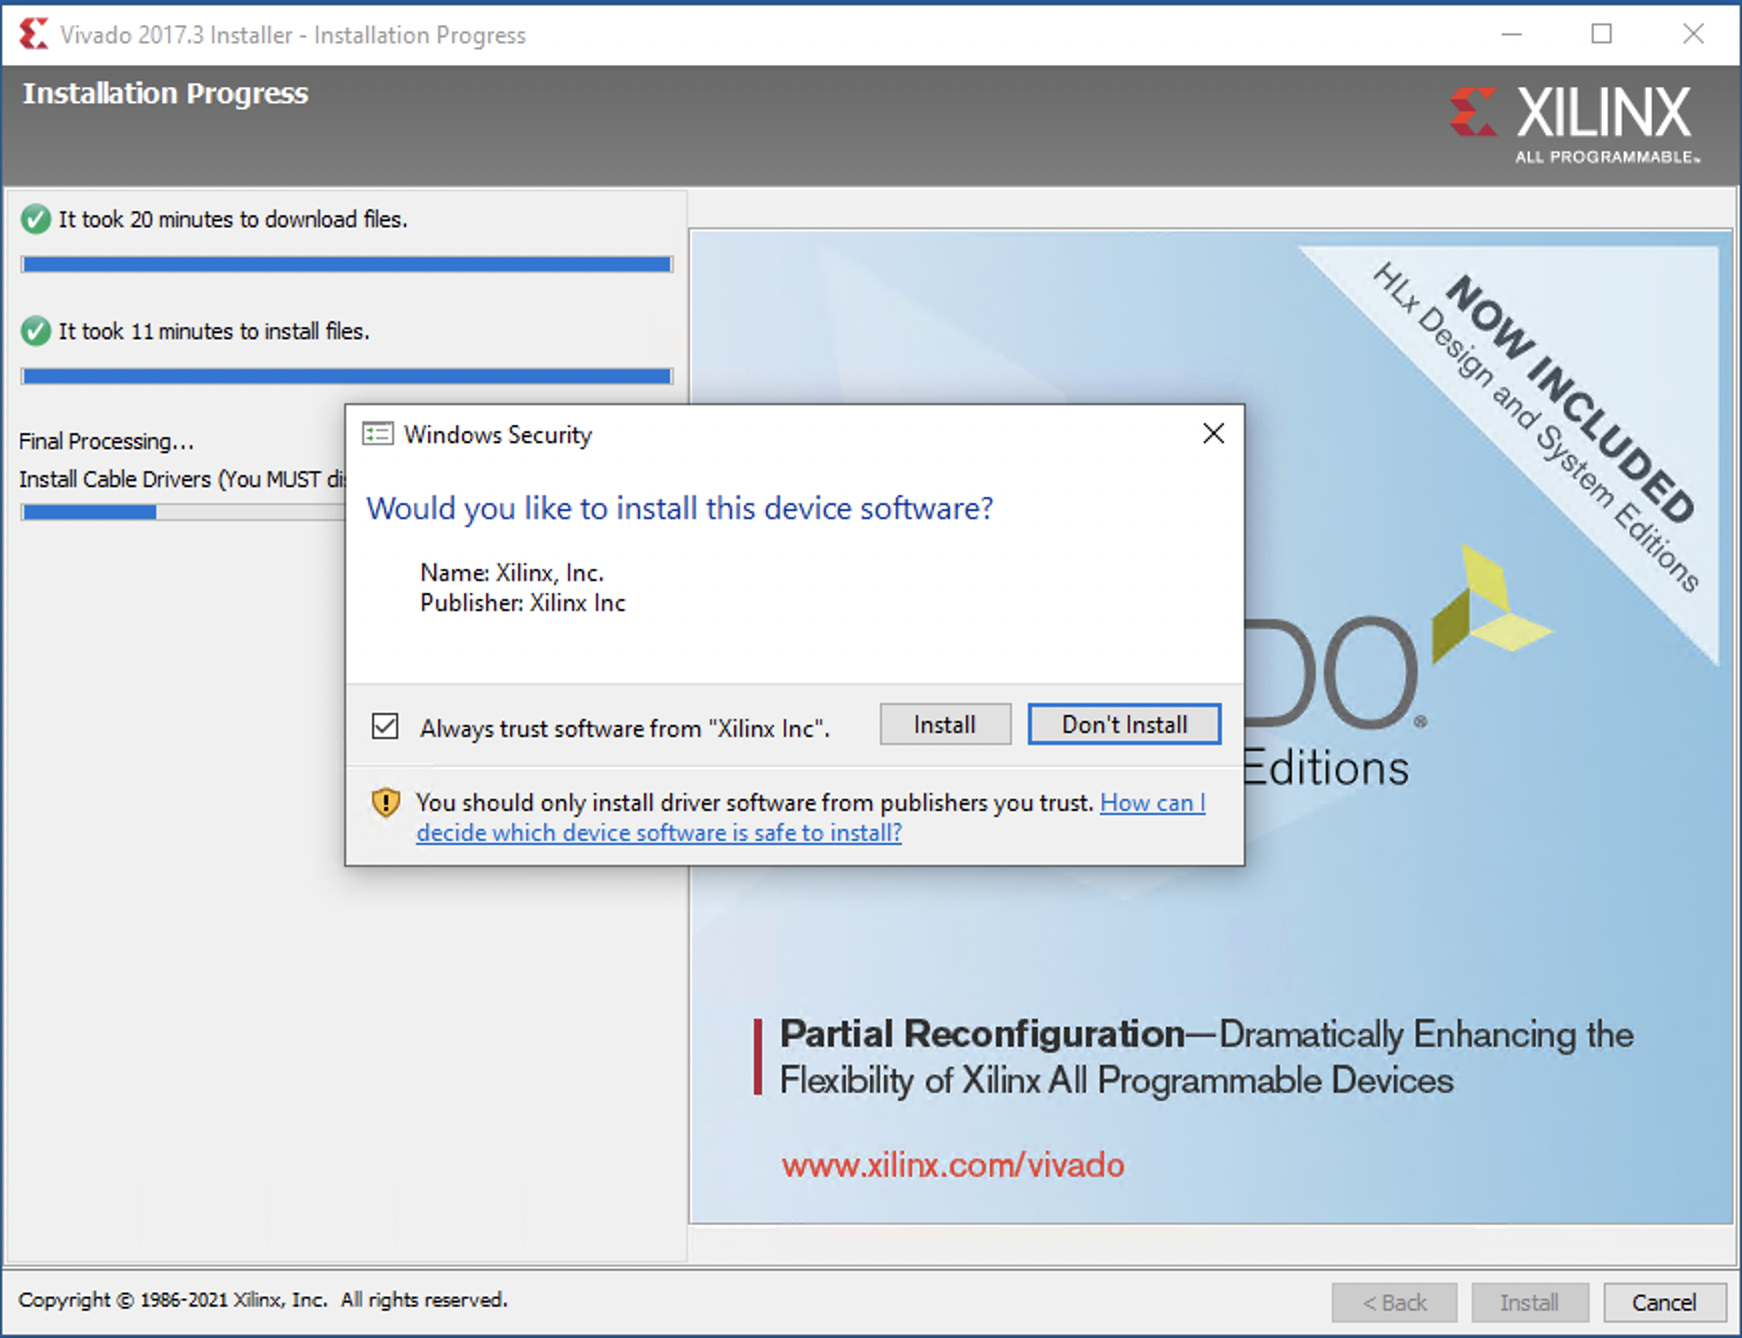
Wait patiently till the installation finishes …
During the process, you will be prompted to install some Windows drivers for debugging cables.
That should work till the end of the installation. Next time, I will share an example of a simple design that demonstrate the basic input and output devices available on the DSDB board.